do let the pigeon quote scriptures!

Book on Focus: "Don't Let the Pigeon Drive the Bus" by Mo Willems
Materials:
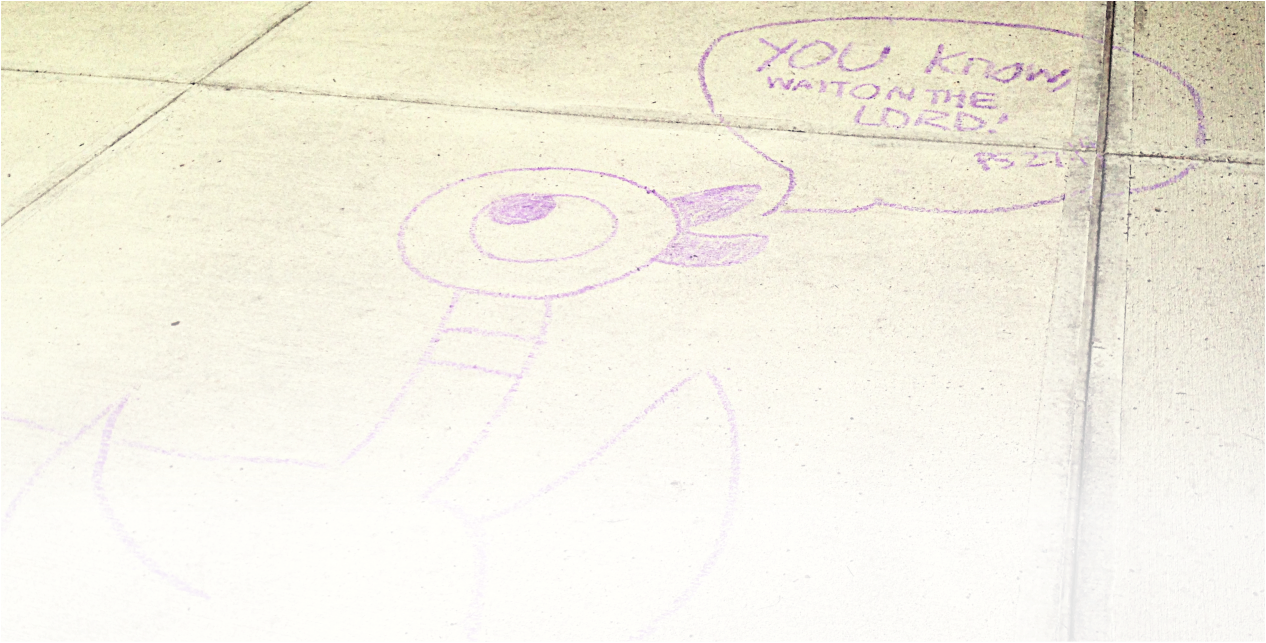
Psalm 27:14 "Wait for the Lord; be strong and take heart and wait for the Lord" was my verse of choosing, so Pigeon said, "You know, wait on the Lord!" If the teacher is in a public school, you can have Pigeon quote other books. For example, pick a class favorite and have students imagine Pigeon entered this book. "What would Pigeon say to this character?" and have students create their own pigeons this way.
Materials:
- "Don't Let the Pigeon Drive the Bus" and/or other Pigeon stories by Mo Willems
- Sidewalk Chalk
- Area to Draw
Psalm 27:14 "Wait for the Lord; be strong and take heart and wait for the Lord" was my verse of choosing, so Pigeon said, "You know, wait on the Lord!" If the teacher is in a public school, you can have Pigeon quote other books. For example, pick a class favorite and have students imagine Pigeon entered this book. "What would Pigeon say to this character?" and have students create their own pigeons this way.
Unlikely friends are the Best Friends
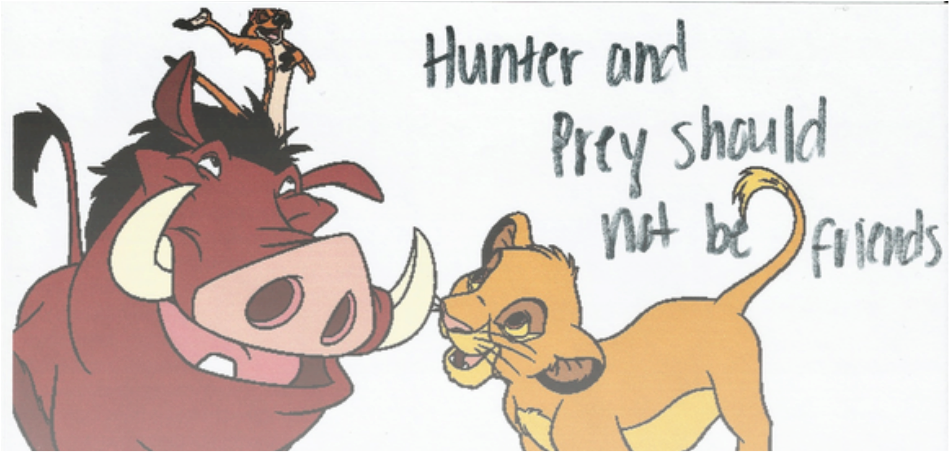
Book on Focus: "Leonardo the Terrible Monster" by Mo Willems
Materials:
Materials:
- "Leonardo the Terrible Monster" by Mo Willems
- Paper
- Coloring Materials
When is the best time to make a terse verse? Rhyme time
Book on Focus: Any minimalism book (Example Author: Chris Raschka)
Materials:
Materials:
- Minimalism Book (perhaps something with rhyme)
- Paper
- Basic coloring materials (Pen, pencil, black marker, etc.)
You be the illustrator: why not take a shot!

Book on Focus: Any Poetry Book or Collection
Materials:
Writing and Illustrating the Book:
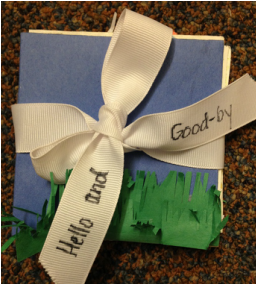
Once all of the books are made, have students select a poem that interests them. Students will write the poem in their mini book and then illustrate the poem. Encourage students to pick poems that mean something to them and discourage students from picking poems that are too short or long. In order to push creativity in this project, a teacher may choose to suggest using different art mediums to create their illustrations. In the book shown, pen, crayon, marker, construction paper, printed images, and colored pencils were used. Be sure students give credit to the author and allow students to share their masterpieces with the class.
Something else to consider is to encourage students to design their covers according to the poem. A peer of mine did a poem about lunch and their cover looked like a bitten piece of bread.
Poem in picture: "Hello and Good-by" by Mary Ann Hoberman
Materials:
- Cardstock or good water color paper: 3 pieces, 8 " square
- Cover paper: 2 pieces, 4 1/4" square
- Ribbon: 25-30" piece
- 2 squares of 4.5x4.5 matt board
- Rubber Cement
- Poem
- Cut Three 8" x 8" Squares out of the watercolor paper. Fold the square in half, and then in half again the opposite direction so you have made a 4" x 4" square. Then unfold the square and take two of the diagonals and fold them together in the middle. Continue this procedure for all 3 squares.
- Fold a piece of cardstock in half lengthwise. Open it up and fold it the other way, lengthwise
- again, so that you have creases going both ways. You are creating smaller squares within the big
- square.
- Once the squares are folded, you will lay them all out like diamonds. The middle diamonds right and left side should overlap the sides of the two end diamonds. Use rubber cement to connect all three diamonds at this overlap.
- Cut two 4" x 4" squares out of cardboard to use as covers for your book. Attach these with rubber cement as well.
- Add ribbon/twine to the covers of the book to tie it closed
Writing and Illustrating the Book:
Once all of the books are made, have students select a poem that interests them. Students will write the poem in their mini book and then illustrate the poem. Encourage students to pick poems that mean something to them and discourage students from picking poems that are too short or long. In order to push creativity in this project, a teacher may choose to suggest using different art mediums to create their illustrations. In the book shown, pen, crayon, marker, construction paper, printed images, and colored pencils were used. Be sure students give credit to the author and allow students to share their masterpieces with the class.
Something else to consider is to encourage students to design their covers according to the poem. A peer of mine did a poem about lunch and their cover looked like a bitten piece of bread.
Poem in picture: "Hello and Good-by" by Mary Ann Hoberman
A Lesson from Leo
Book on Focus: "Frederick" by Leo Lionni (Or other Leo Lionni books with mice)
Materials:
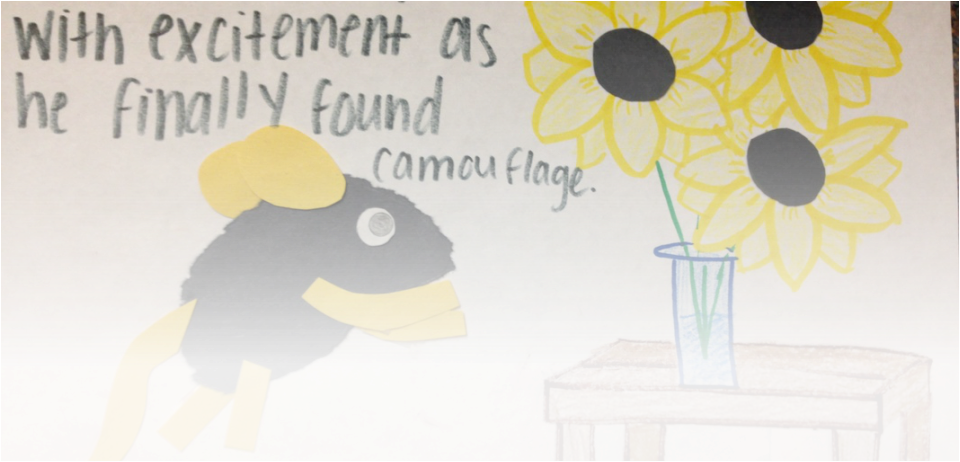
After reading one or several of Leo Lionni's books about Frederick or other mouse characters, encourage students to create their very own mouse. Hand out construction paper, scissors, and the mouse pattern to students. After that, guide students through Leo Lionni's demonstration on how to create a paper mouse. After reviewing the video and helping students, instruct them to create their own page out of a story book they think that Frederick would be in (or that Leo Lionni would have written). This activity allows students to play with the characters that they have come to know and it also broadens their horizons with illustration. Be sure to take time to show the students how the mouse can show many emotions and poses from just these simple cut outs.
Materials:
- "Frederick" by Leo Lionni
- Construction Paper
- Scissors
- Mouse Pattern (http://www.randomhousekids.com/media/activities/lionni-paper-mouse-craft.pdf)
- Coloring Materials
After reading one or several of Leo Lionni's books about Frederick or other mouse characters, encourage students to create their very own mouse. Hand out construction paper, scissors, and the mouse pattern to students. After that, guide students through Leo Lionni's demonstration on how to create a paper mouse. After reviewing the video and helping students, instruct them to create their own page out of a story book they think that Frederick would be in (or that Leo Lionni would have written). This activity allows students to play with the characters that they have come to know and it also broadens their horizons with illustration. Be sure to take time to show the students how the mouse can show many emotions and poses from just these simple cut outs.
Snail Mail: But it's from scratch!
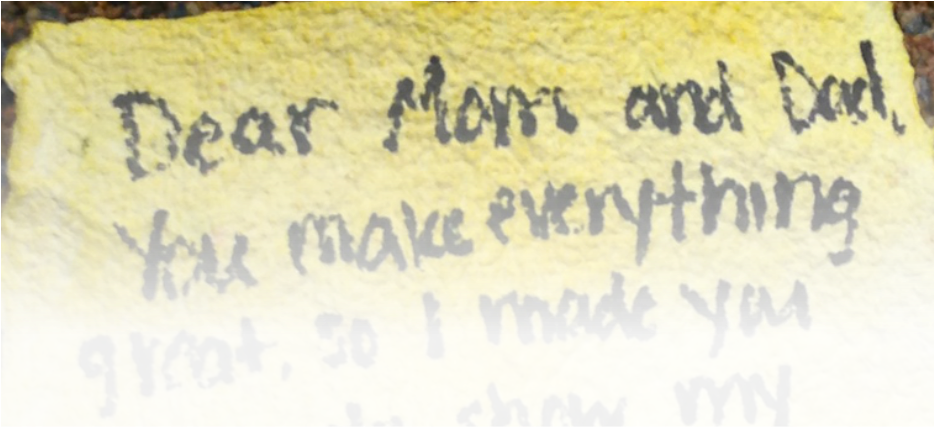
Book on Focus: Any Book by Denise Fleming
Materials:
Materials:
- 1 3/4 Cups of Water
- 15 squares of 2-ply toilet paper (30 squares of 1-ply)
- Large Jar with a Lid
- Wire Screen
- Embroidery hoop (Contain wire screen in the embroidery hoop)
- Cookie cutter of desired paper shape
- Rubber Spatula
- Paper towels
- Place water and toilet paper in the large jar
- Screw on the lid and shake rapidly for 30-45 seconds
- Add any extra "ingredients" to your paper mix. (I.E. food coloring, herbs, glitter, etc.)
- Pour pulp over the wire screen within the cookie cutter shape
- Flatten the pulp delicately with the rubber spatula to let out excess water
- Gently lift up the wet "paper" and place it between two paper towels
- Gently press the paper towels to continue evaporate the water
- Let it sit for approximately 24 hours to dry out (You can speed this up by microwaving your paper)
It's like a lava lamp on paper: Marbleizing
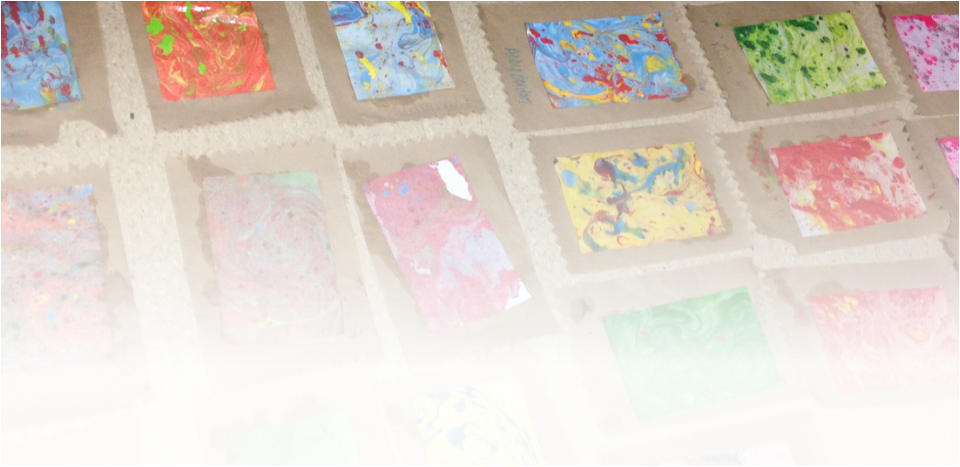
Book on Focus: Any Book by Ezra Jack Keats
Materials:
Materials:
- 9" x 13" Baking Pan
- Water
- Paper Towels
- White Paper (Computer paper will work!)
- Oil Paints (Testor's Enamel Paint works great!)
- Fork
- Fill the baking pan with water, just deep enough to submerge the paper
- Pour your oil paints over the water, they should float on the surface
- Use the fork to slightly mix the oil paints and create fun patterns
- When you're satisfied with the design, lay your paper over the surface of the water so it is floating
- As soon as you can kind of see the design through the paper, it is ready to be removed!
- Use your fork to peel up a corner of the paper and lay it down on a piece of paper towel to dry
- Let it sit for a few days or until it is completely dry!
